Local development
The easiest way to get started with local development is by forking the hello world template repo and running the docker-compose file.
This will monitor changes to files in the project and recompile them and deploy them automatically to assemble to enable live code reloads. Your code will update instantly as soon as it uploads without needing to reload the page.
1. Get an API key#
a. Go to www.assemble.app/profile/edit and select "Generate key".#
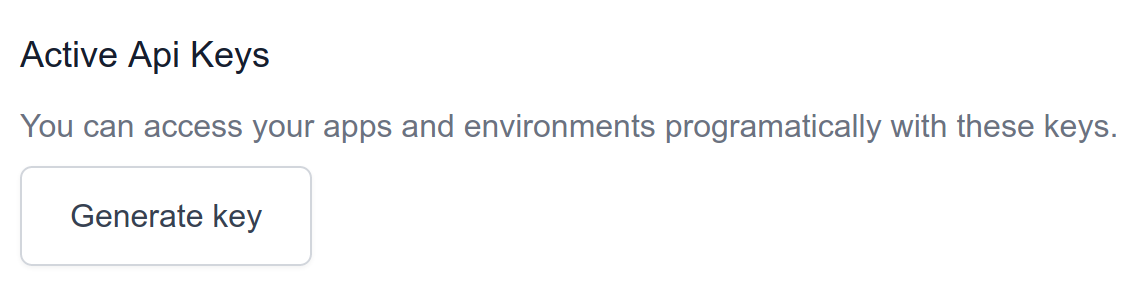
b. A message will be displayed with your API token. Copy down this in your password manager as it will only be displayed once.#

c. Take this token and setup your local environment to use your API key.#
2. Configure your app#
a. The next thing you will need is an App ID to tell the local process where to upload your code to. This can be found by selecting an app from your organization page and looking next to the title.#

b. Now we are ready to start a project. Clone the boilerplate from github to quickly get started.#
c. You will then get some output that includes the page that you can view your app on:#
Every change you make to the source files of your project will cause the project to reload and hot swap the view in your browser.
d. Create a new version to deploy#
In order to create a new version of your app to finalize your changes and prepare for deployment, click "Finish editing and create version" link inside the "View" link from the output described above. You can then follow the steps for deployment.